 |
| The factory that makes this chocolate is about 15 minutes from our house. We went on a tour! |
I kept trying to create the perfect, not-too-thin cookie for a long time, refusing to get a new recipe since I knew this one could be so good. Eventually, after I gave him a rundown of my problems with chocolate chip cookies and why they're too thin, Matt gently suggested that I try a new recipe. And the quest began. I scoured my cookbooks for chocolate chip recipes and tried them one by one. Some were too sweet, or too buttery, some were not chewy enough - there have been trials and tribulations, people. (We sacrificed and ate all of the cookies, even if we decided that recipe wasn't a keeper.)
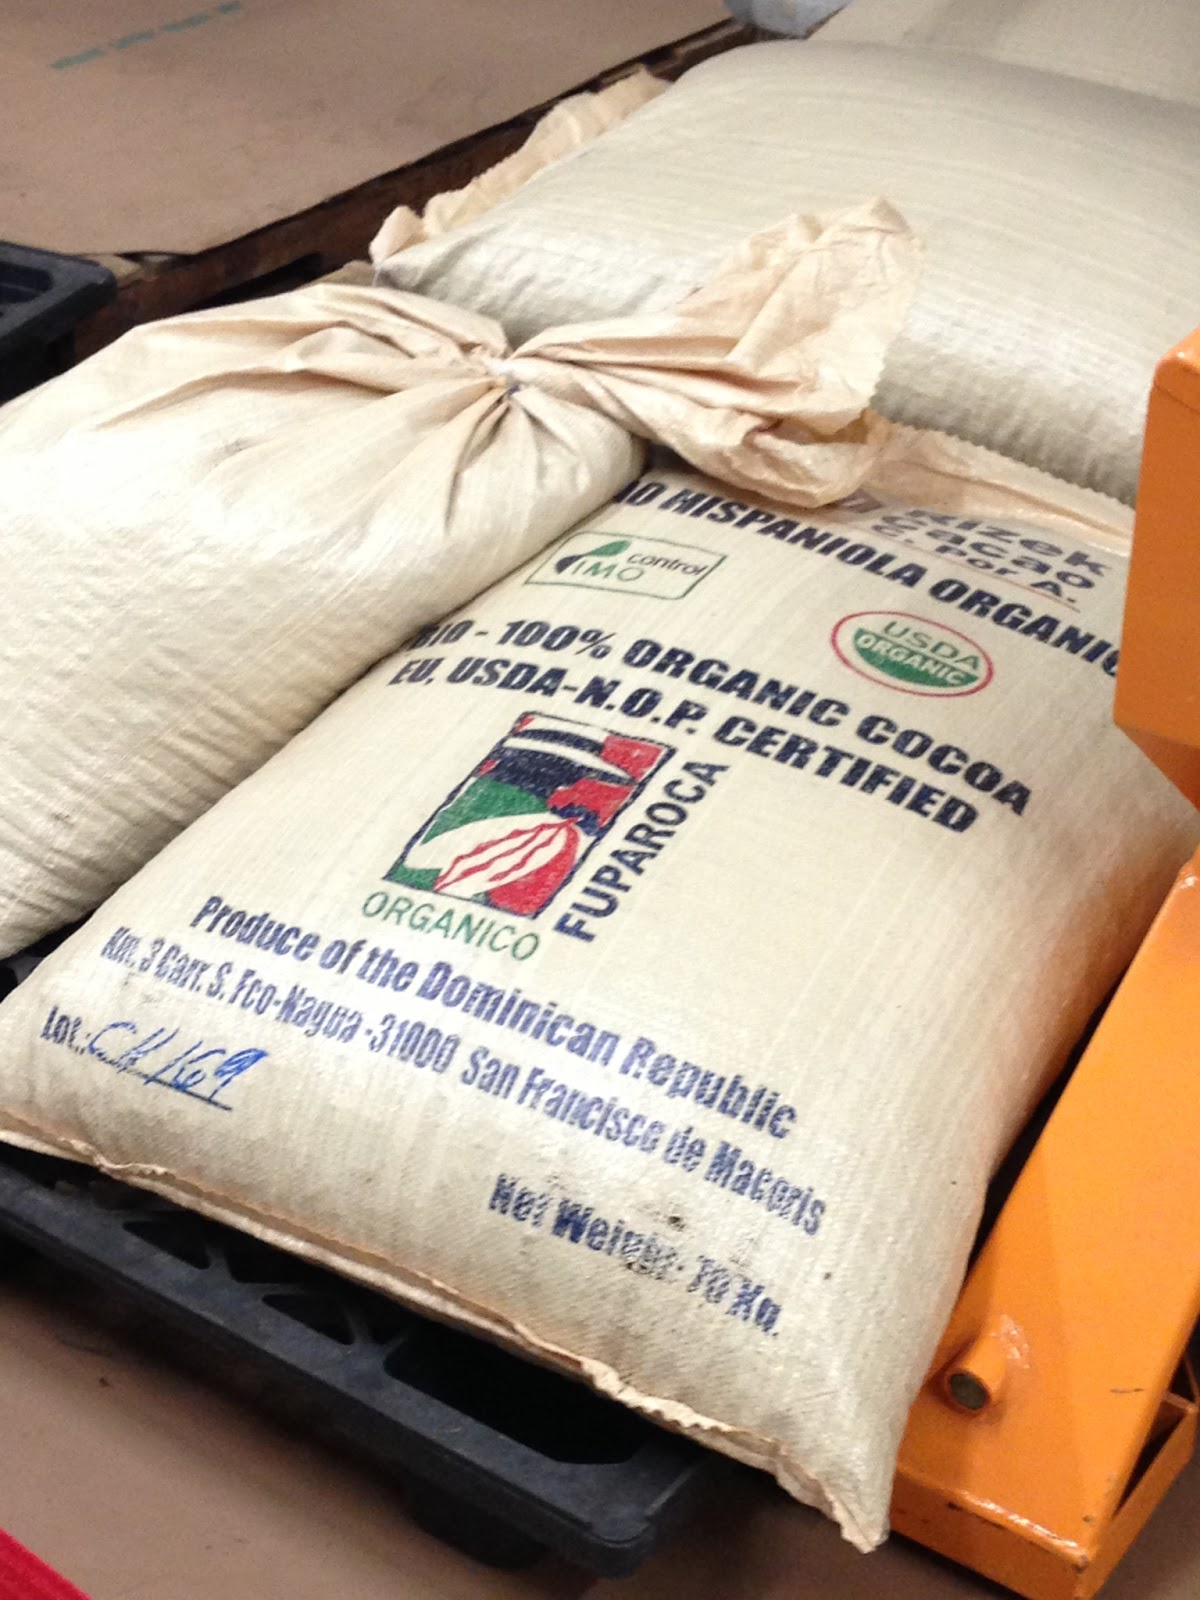 |
| Sacks of cocoa! The factory makes stone-ground, Mexican-style chocolate. The stone grinding makes it a little gritter than a standard chocolate bar. |
 |
| No oompa-loompas in sight! But we did all have to wear hair nets. |
The first time I made these, I browned the butter, just like they said. The second time (and all subsequent times), I've just melted it in the microwave and continued on. Honestly, I can't tell much of a difference. Cook's Illustrated says that browning the butter adds a nutty, toasted flavor to the cookie, infusing the cookie with a range of butterscotch and toffee flavors. Additionally, melting the butter makes the cookies chewy. Okay. These cookies are pleasingly chewy, which I like, but I couldn't pick up on the flavor complexity that the browned butter supposedly provides. I think partly that's because the dark brown sugar also provides toffee-ish flavors to the cookie, or maybe I just don't have a sophisticated palate. Anyway, what I'm saying is that I think you can save yourself the time and just use melted butter.
 |
| Fresh out of the oven! |
I used chocolate chunks in these cookies, although usually I use chips. The chunks resulted in a more unequal distribution of chocolate than chips normally do, and they didn't keep their shape the way that chips to, meaning that the chocolate is now more dispersed throughout the individual cookie. But still yum! The cookies are delicious - chewy and flavorful with crisp edges - although they become less chewy after two or three days.
 |
| Chunks are harder to evenly distribute than chips. |
Ultimate Chocolate Chip Cookies
The Science of Good Cooking, (c) 2012, p. 415
1 3/4 cups (or 8 3/4 oz.) all-purpose flour
1/2 teaspoon baking soda
14 Tablespoons unsalted butter
3/4 cup packed (or 5 1/4 oz.) dark brown sugar
1/2 cup (or 3 1/2 oz.) granulated sugar
1 teaspoon salt
2 teaspoons vanilla
1 large egg plus 1 large egg yolk*
1 1/4 cups (or 7 1/4 oz.) semisweet chocolate chips or chunks
3/4 cup nuts, toasted and chopped (optional)
Adjust rack in oven to middle position, and heat oven to 375 degrees. Line two baking sheets with parchment paper.
Whisk together flour and baking soda. Set aside.
Melt 10 tablespoons butter in 10-inch skillet over medium-high heat. Continue cooking, swirling pan constantly, until butter is dark golden brown and has a nutty aroma, 1-3 minutes. Transfer browned butter to large heatproof bowl (or, like I said, melt the butter). Add remaining 4 Tbsp butter and stir until completely melted.
Add brown sugar, granulated sugar, salt, and vanilla to melted butter, and whisk until fully incorporated. Add egg and yolk, whisk until mixture is smooth with no lumps remaining, about 30 seconds. Let mixture stand 3 minutes, then whisk for 30 more seconds. Repeat rest/whisk process 2 more times (so you have three rests), until mixture is smooth, thick, and shiny. Stir in flour mixture until just combined, about 1 minute. Stir in chocolate and nuts (if using).
Working with 3 Tbsp of dough at a time, roll into balls and place 2 inches apart on prepared baking sheets. Bake 1 sheet at a time until cookies are golden brown and still puffy and edges have set but centers are still soft, 10-14 minutes (or 8-9 minutes for 1 Tbsp-sized cookies).
*Wondering what to do with your extra egg white? I made spiced nuts. Combine egg yolk, 3 cups of nuts (your choice), 1/2 cup granulated sugar, and 1 Tbsp cinnamon. Stir well til all nuts are covered. Bake on an ungreased sheet for about 20 minutes in a 350 degree oven.
No comments:
Post a Comment